
Introduction
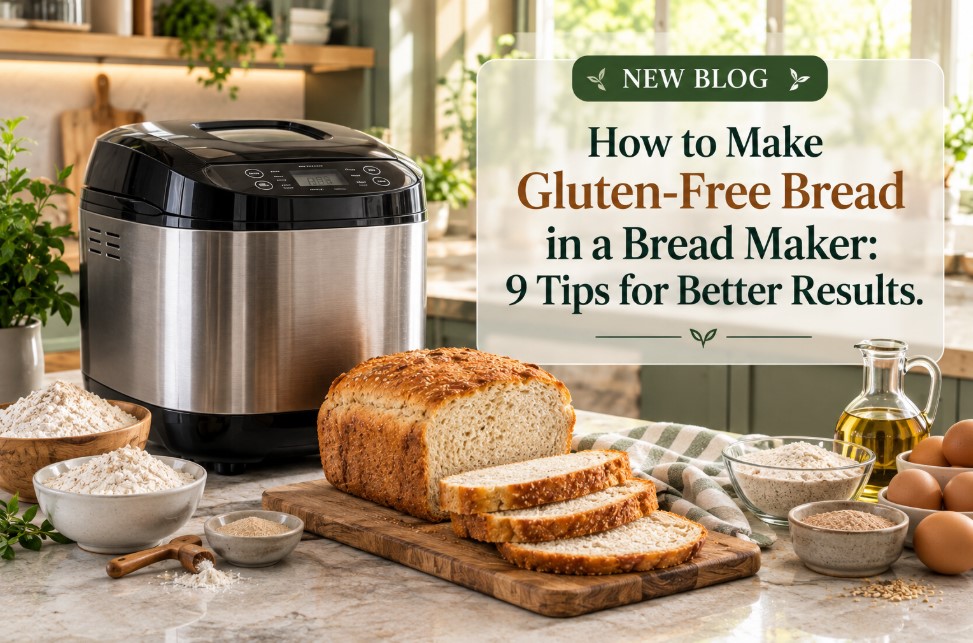
Making gluten-free bread in a bread maker can be much easier than making it by hand or baking it from scratch in an oven, but gluten-free dough behaves differently from traditional wheat-based dough. Without gluten, the mixture does not develop the same stretchy structure that normally helps bread rise, hold its shape and produce a familiar chewy texture. The result can sometimes be dense, gummy, crumbly or unevenly baked if the ingredients and bread-maker settings are not properly matched.
The good news is that a bread maker can still produce soft, flavorful gluten-free bread when you use the right ingredients, measurements, program, and technique. In this guide, we will cover 9 practical tips for how to make gluten-free bread in a bread maker, from choosing the right gluten-free flour and measuring ingredients accurately to handling the dough, cooling the finished loaf and troubleshooting common problems.
Why Is Gluten-Free Bread Different?
Before getting into the tips, it helps to understand why gluten-free bread requires a slightly different approach.
Traditional wheat bread relies heavily on gluten proteins. When wheat flour is mixed with liquid and kneaded, gluten develops into an elastic network that helps trap carbon dioxide produced by yeast. This structure allows the dough to expand while rising and helps the baked loaf maintain its shape.
Gluten-free flour does not create that same elastic network. Instead, gluten-free bread recipes often depend on a combination of starches, alternative flours, binders, yeast, liquids and carefully controlled baking conditions to create structure.
That is one reason a gluten-free bread-machine recipe may look more like a thick batter or very soft dough than the firm, elastic dough you might expect from regular bread.
Choosing a machine with a dedicated gluten-free program can also make the process easier. If you are still deciding which model might suit your kitchen, our guide Best Bread Makers for Gluten-Free Bread: 7 Top Picks for 2026 compares several options with gluten-free functionality.
9 Tips for Making Better Gluten-Free Bread in a Bread Maker
1. Choose a Bread Maker With a Dedicated Gluten-Free Program
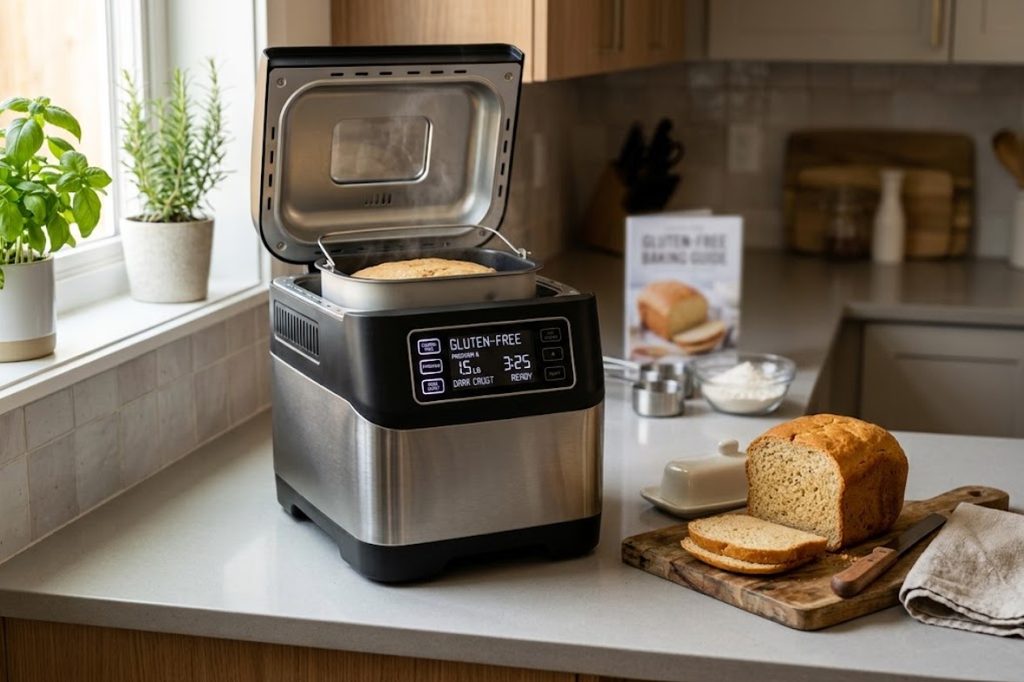
The first and perhaps most important step is choosing a bread maker that is designed to handle gluten-free recipes.
A dedicated gluten-free setting is useful because gluten-free dough generally does not need the same long kneading and multiple-rise process as conventional wheat dough. A machine designed with a gluten-free cycle can use a different sequence of mixing, rising and baking that better suits these recipes.
When shopping for a bread maker, do not assume that a machine with many automatic programs automatically has a useful gluten-free setting. Check the manufacturer’s specifications and instruction manual to confirm what the gluten-free program actually does.
You should also look at the maximum loaf size, pan shape, heating system, paddle design and whether the manufacturer provides gluten-free recipes.
For example, some machines are particularly attractive because they combine gluten-free programs with other useful features such as custom cycles, multiple loaf sizes or additional recipe settings.
If you want to understand the different types of machines and how their features work, What Is a Bread Maker? Types, Uses, Benefits & Complete Buying Guide (2026) provides a broader introduction before you choose a model.
What to check before buying
Look for:
- A dedicated gluten-free cycle
- Suitable loaf sizes
- Reliable temperature control
- A removable baking pan
- Easy-to-clean paddles
- Good mixing performance
- Clear controls
- Gluten-free recipes in the manual

2. Use the Right Gluten-Free Flour Blend
One of the biggest differences between successful and disappointing gluten-free bread is the flour blend.
You generally cannot replace wheat flour with a single gluten-free flour and expect identical results. Rice flour, sorghum flour, millet flour, buckwheat flour, tapioca starch, potato starch and other ingredients behave differently in bread recipes.
Many gluten-free bread recipes therefore use a blend of flours and starches. Some commercial gluten-free flour blends are already formulated for baking and may be easier for beginners.
Pay attention to whether the blend already contains a binder such as xanthan gum. If it does, adding a large additional amount may change the texture.
The best approach is to follow a tested recipe and use the flour blend specified by that recipe whenever possible. Once you understand how your particular bread maker behaves, you can begin experimenting with other blends.
Another important consideration is that not every product marketed as “wheat-free” should automatically be treated as gluten-free. Read the ingredient information and labeling carefully, especially when preparing food for someone with celiac disease.
For additional information about gluten-free labeling and what the “gluten-free” claim means, the FDA’s gluten-free labeling guidance is a useful reference.

3. Measure Your Ingredients Accurately
Accurate measurements are especially important when making gluten-free bread.
Traditional bread dough can sometimes tolerate small changes in hydration, but gluten-free recipes can be more sensitive. A little too much flour may produce a dry, heavy loaf, while too much liquid may create a gummy center or cause the loaf to collapse.
Whenever possible, use a digital kitchen scale to weigh flour and other dry ingredients. Measuring by weight gives you greater consistency than repeatedly using measuring cups.
Liquid ingredients should also be measured carefully. If a recipe calls for room-temperature, warm, or cold ingredients, follow that instruction rather than changing the temperature without a reason.
Be careful with small ingredients as well. Yeast, salt, sugar, xanthan gum, psyllium husk and other binders can affect the final structure and rise.
A useful habit is to prepare and measure everything before starting the bread maker. This reduces the chance of forgetting an ingredient or accidentally adding the wrong amount.
A simple preparation routine
Before pressing Start:
- Read the recipe completely.
- Measure every ingredient.
- Check the yeast.
- Confirm the flour blend.
- Check the liquid quantity.
- Verify the bread-maker program.
- Make sure the paddle is correctly installed.
4. Get the Liquid-to-Flour Ratio Right
Gluten-free bread often requires a different hydration level than traditional wheat bread.
Because gluten-free flours and starches absorb liquid differently, the correct amount of water, milk or another liquid can vary considerably between recipes.
Do not automatically add extra flour simply because the mixture looks wetter than traditional bread dough. This is one of the most common mistakes beginners make.
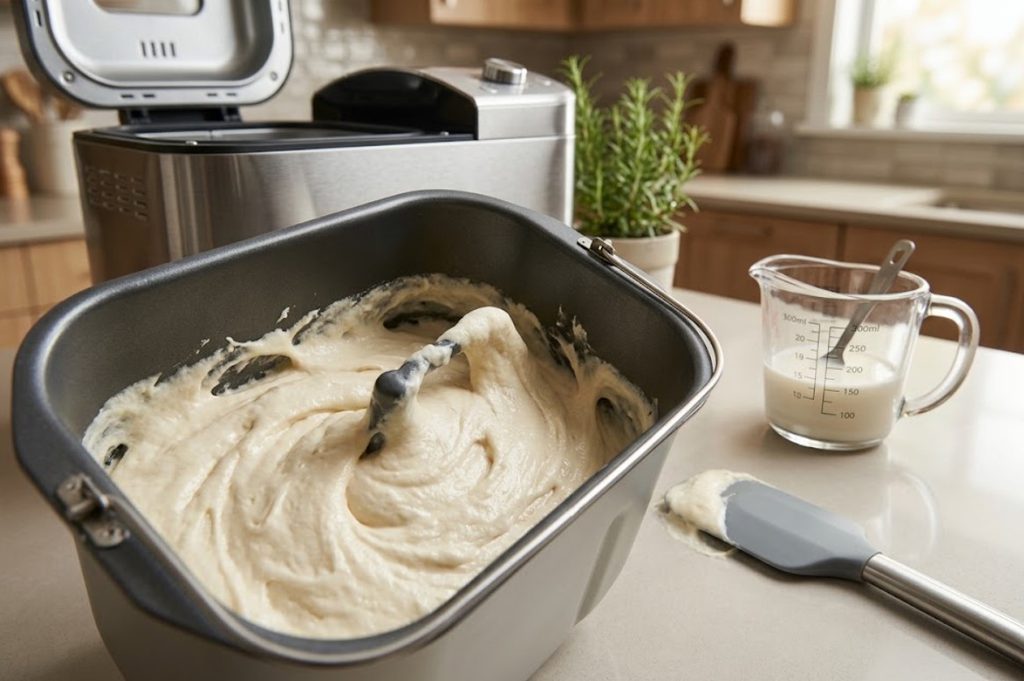
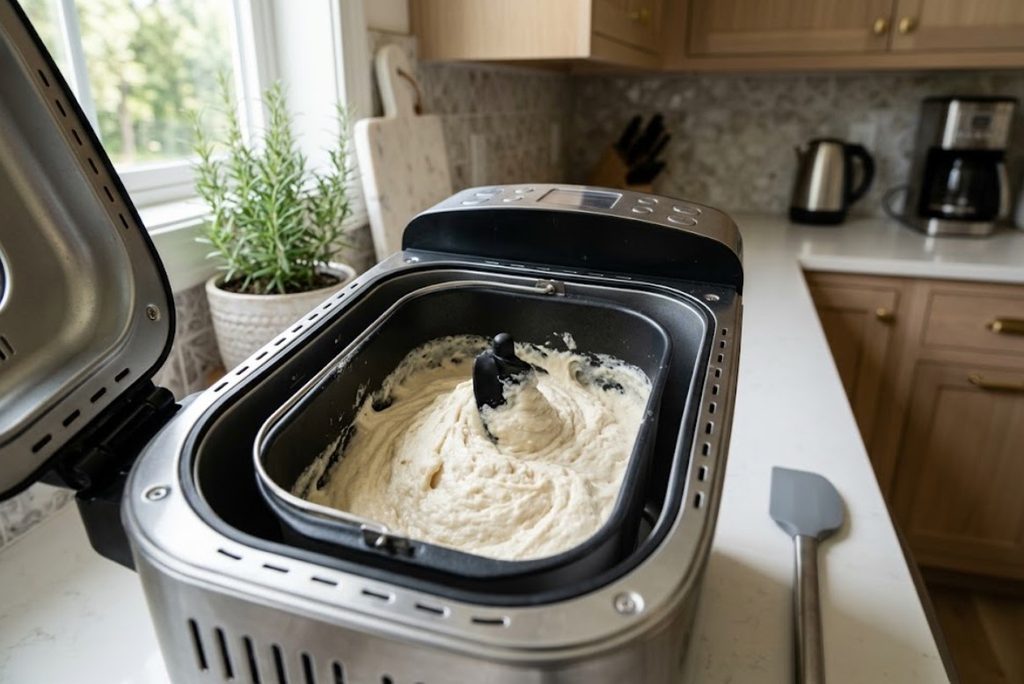
During the initial mixing stage, gluten-free dough may look thick, sticky or closer to a heavy batter than a traditional elastic dough. That appearance alone does not necessarily mean something is wrong.
Instead, follow the recipe’s recommended proportions and observe the dough during the early mixing stage.
If your particular recipe repeatedly produces a loaf that is too dry and crumbly, the hydration may need adjustment. If the center remains wet or gummy, there may be too much moisture, insufficient baking or another problem with the recipe or machine setting.
Make changes gradually rather than changing several ingredients at once.
5. Use the Correct Binder
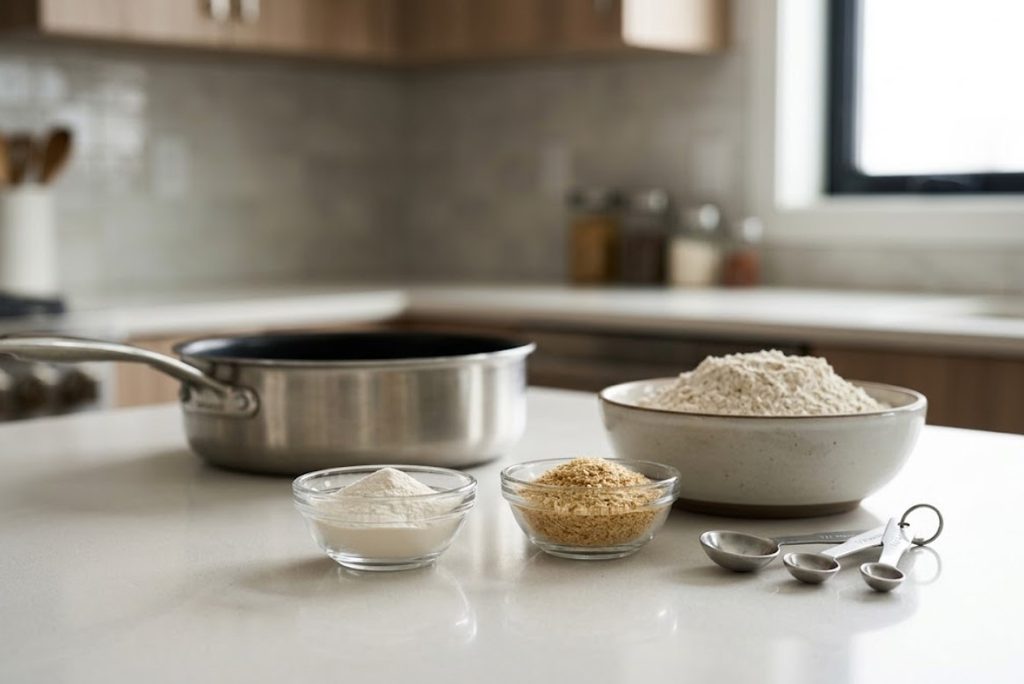
Binders can be extremely important in gluten-free bread because they can help compensate for the structural role normally provided by gluten.
Common ingredients used in gluten-free baking include xanthan gum and psyllium husk, although the appropriate choice and quantity depend on the specific recipe.
A binder can help the mixture hold together, improve moisture retention, and create a more cohesive crumb. However, more is not automatically better.
Too much binder can sometimes produce a gummy, rubbery or overly dense texture. Too little may leave the finished loaf fragile and crumbly.
The key is to follow the recipe carefully and check whether your commercial flour blend already contains a binder.
If your recipe specifically calls for xanthan gum or psyllium husk, measure it accurately rather than estimating.
Important point
Do not modify several structural ingredients simultaneously. If you change the flour blend, liquid, binder, yeast, and baking cycle at the same time, it becomes difficult to determine what caused the improvement—or the failure.
Make one controlled adjustment at a time.
6. Use the Bread Maker’s Gluten-Free Cycle Correctly
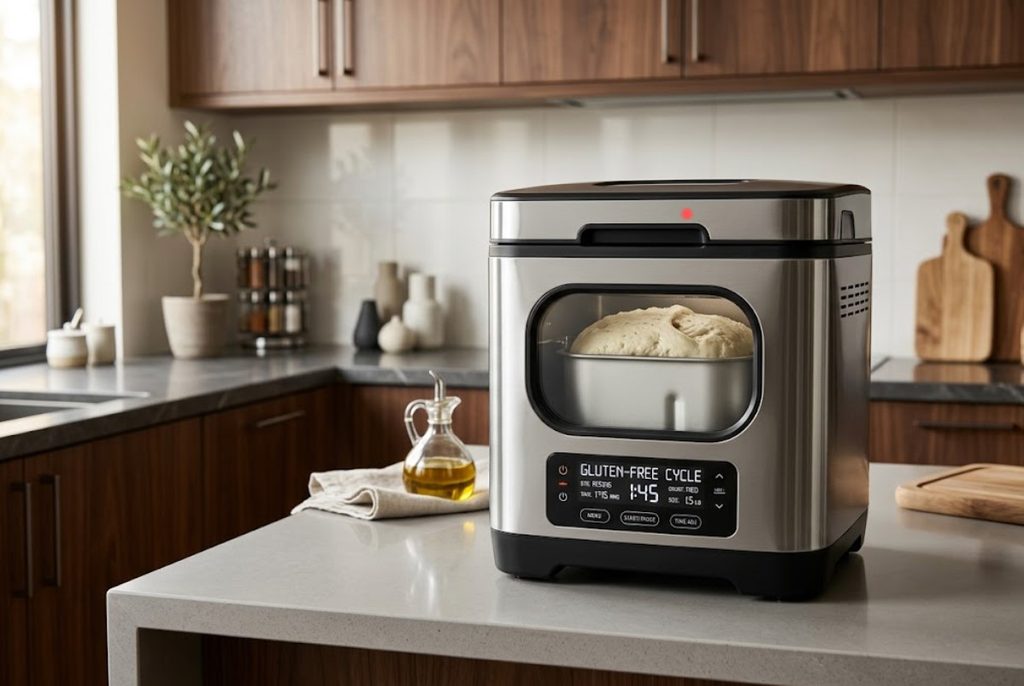
If your machine has a gluten-free program, use it when the recipe is designed for that setting.
The gluten-free cycle may use a different combination of mixing, rising, and baking times compared with the regular basic-bread program. This matters because gluten-free dough does not need to be developed in the same way as wheat dough.
Avoid repeatedly opening the lid during the cycle. Opening the machine unnecessarily can release heat and interfere with the controlled environment inside the bread maker.
It is also important to select the correct loaf size and crust setting when your machine provides those choices.
For example, a small gluten-free loaf may require a different baking profile than a larger loaf. Always give the manufacturer’s instructions priority when they conflict with generic recommendations.
If you are new to bread makers and want a machine that is easier to operate, Best Bread Makers for Beginners: 7 Easy-to-Use Picks for Homemade Bread can help you compare beginner-friendly models.
Avoid unnecessary interruptions
Once the machine begins its programmed cycle:
- Avoid repeatedly opening the lid.
- Do not add extra flour unless the recipe specifically requires it.
- Do not change programs halfway through without a reason.
- Avoid moving the machine while operating.
- Let the bread maker complete its programmed cycle.
7. Watch the Dough During the First Mixing Stage
One of the advantages of making gluten-free bread in a bread maker is that you can observe the mixture during the early stage.
If your machine’s instructions allow it, check the dough after mixing has begun rather than immediately walking away.
The consistency you want depends on the recipe, but gluten-free bread dough commonly looks much softer and stickier than traditional wheat dough.
A silicone spatula can sometimes be useful for scraping flour or dry ingredients away from the corners of the pan if the manufacturer’s instructions permit this.
However, do not interfere unnecessarily. The goal is to identify obvious mixing problems, not to continuously manipulate the dough.
If dry flour remains stuck in the corners, the ingredients may not be combining properly. A quick, careful scrape during the appropriate stage can help incorporate the ingredients.
Once the mixture is properly combined, close the lid and let the machine continue.
Why this matters
A bread maker can do most of the work, but it cannot compensate for a recipe that is poorly mixed or incorrectly measured.
Watching the first mixing stage gives you an opportunity to identify problems before the bread begins rising.
8. Let the Bread Cool Completely Before Slicing
It can be tempting to remove a fresh loaf and immediately cut into it, especially when the kitchen smells like freshly baked bread.
However, gluten-free bread often benefits from a proper cooling period.
The interior continues to settle as the loaf cools. Cutting it too early can release steam and disturb the crumb before it has finished setting.
This can make the bread appear wetter, stickier, or more fragile than it actually is.
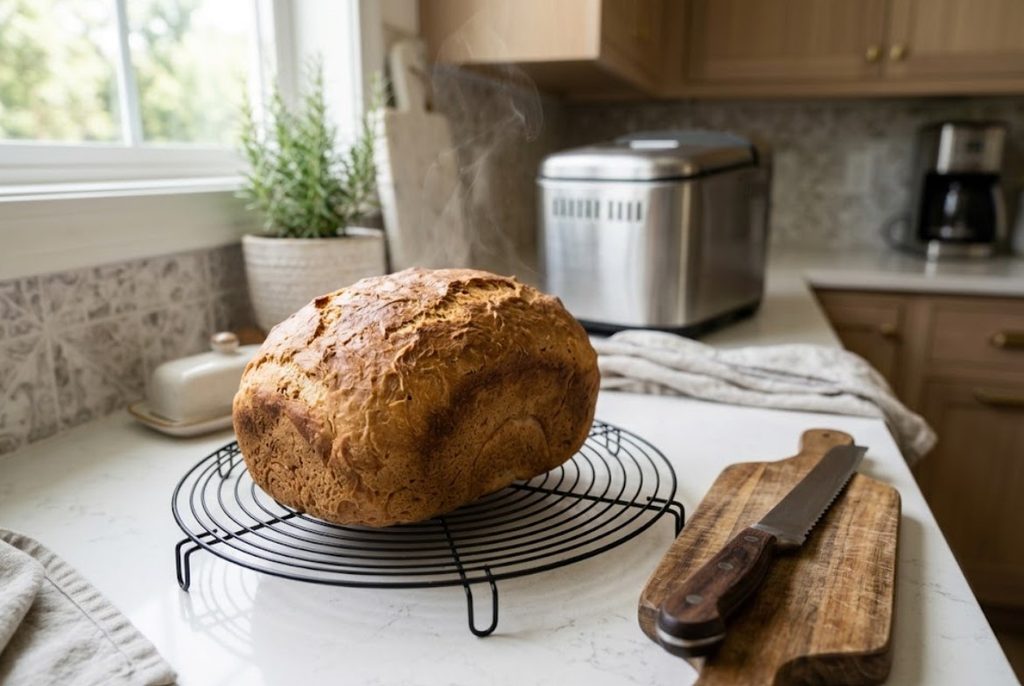
After the baking cycle finishes, remove the loaf according to your bread maker’s instructions. Place it on a suitable cooling rack and allow air to circulate around it.
Do not immediately seal a hot loaf inside a container. Trapped steam can increase surface moisture and affect the crust.
Once the loaf has cooled adequately, use a sharp bread knife to make clean slices.
If the bread is particularly soft, slicing gently rather than pressing down aggressively can help prevent crumbling.
9. Prevent Gluten Cross-Contact
If you are preparing gluten-free bread for someone with celiac disease or another medically necessary gluten-free diet, ingredient selection is only part of the process. Kitchen surfaces, utensils, containers, and equipment can also matter.
Gluten-free ingredients can come into contact with gluten-containing flour, bread crumbs, utensils, cutting boards or other kitchen surfaces.
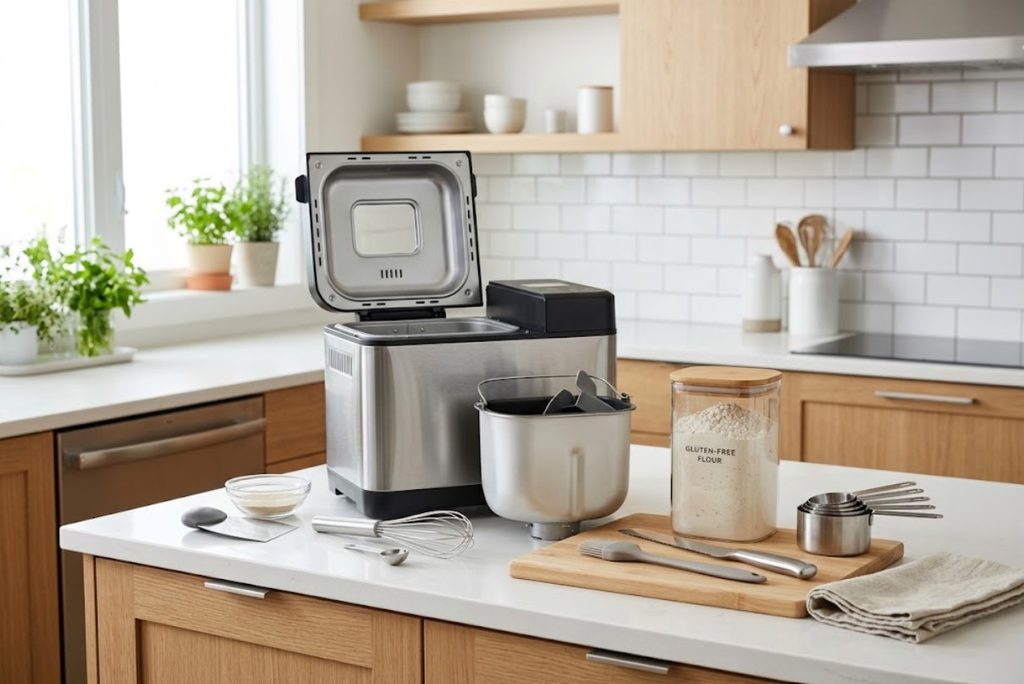
For this reason, clean the bread pan, paddle, utensils, measuring equipment and work surface thoroughly before preparing gluten-free bread.
Also consider ingredients that may be shared with regular bread. For example, jars of spreads, flour containers, or utensils can potentially pick up crumbs from gluten-containing foods.
Use clean utensils and carefully check ingredient labels.
The Celiac Disease Foundation also provides guidance on avoiding gluten cross-contact in shared kitchens, including attention to cookware, utensils, cutting boards and other food-contact surfaces.
Cross-contact is especially important because simply choosing gluten-free ingredients does not guarantee that the finished food remains free from unwanted gluten exposure.
If your household regularly prepares both gluten-containing and gluten-free foods, establishing separate or carefully cleaned equipment for certain items may make the process easier.
Common Gluten-Free Bread Maker Problems and How to Fix Them
Even when you follow a recipe carefully, gluten-free bread may not turn out perfectly on the first attempt. Understanding the most common problems can make troubleshooting much easier.
Why Is My Gluten-Free Bread Dense?
Dense bread can result from several factors.
Possible causes include:
- Too much flour
- Not enough liquid
- Weak or inactive yeast
- Incorrect yeast quantity
- An unsuitable bread-maker cycle
- A flour blend that does not provide enough structure
- Insufficient rising
- Incorrect ingredient measurements
Start by checking your measurements and confirming that the yeast is fresh.
If you are using a bread-maker recipe that worked previously, compare the current ingredients with the successful batch before making major changes.
Why Is My Gluten-Free Bread Gummy?
A gummy center can be particularly frustrating.
Possible causes include:
- Excess moisture
- Insufficient baking
- Cutting the bread while it is still hot
- An unsuitable recipe
- Incorrect flour proportions
- A bread-maker program that is not suitable for the recipe
Allow the loaf to cool completely before judging its final texture.
If the center is consistently gummy after complete cooling, review the recipe’s liquid ratio and baking cycle.
Why Does Gluten-Free Bread Collapse?
A loaf that rises and then sinks may have too much liquid, too much yeast, insufficient structural support or an unsuitable rise-and-bake balance.
Avoid changing everything at once.
Instead, make one adjustment and test the recipe again.
Keeping notes is surprisingly useful. Record the flour blend, liquid quantity, yeast amount, program, loaf size, crust setting and final result. This turns repeated baking into a controlled learning process.
Can You Use a Regular Bread Maker for Gluten-Free Bread?
Yes, depending on the model and recipe, but a dedicated gluten-free program can make the process considerably easier.
Some bread makers have a specific gluten-free cycle designed around the different requirements of gluten-free dough. Others may allow you to use custom programs or manual settings.
If you already own a bread maker, check its manual before buying a new machine. Look for gluten-free recipes and instructions from the manufacturer.
You should also consider whether the machine has previously been used for regular wheat bread. For people who must strictly avoid gluten, cleaning and cross-contact considerations are important.
If your kitchen has limited counter space, you may also want to consider machine dimensions before buying a new model. Our guide Best Compact Bread Makers for Small Kitchens: 7 Space-Saving Picks focuses specifically on smaller bread makers that can fit more comfortably into compact kitchens.
Bread Maker vs. Oven for Gluten-Free Bread
A bread maker offers convenience because it can mix, rise, and bake the loaf in one appliance.
An oven gives you more control over shaping, baking pans, crust development and recipe experimentation.
Neither method is automatically better for everyone.
A bread maker may be preferable if you want a simple process with minimal hands-on work. An oven may be more attractive if you enjoy experimenting with different loaf shapes, baking temperatures and recipes.
For a broader comparison of the two methods, Bread Maker vs. Oven: 7 Key Differences and Which Is Better? explains how they differ in convenience, control, baking process and everyday use.
Can You Make Gluten-Free Dough in a Bread Maker and Bake It Elsewhere?
Yes, depending on your machine and recipe.
Some bread makers can be used primarily for mixing or preparing dough, while the dough can then be transferred to another baking vessel.
This approach can be useful if you want more control over the final shape or baking environment.
However, gluten-free dough can be more delicate than conventional wheat dough, so transferring it may require gentle handling.
If you are considering whether a bread maker or stand mixer would better suit your baking style, Bread Maker vs. Stand Mixer: 7 Key Differences and Which One Should You Buy? provides a useful comparison of the two appliances.
A Simple Gluten-Free Bread Maker Checklist
Before starting your next loaf, use this quick checklist:
Before mixing
- Choose a suitable gluten-free recipe.
- Check that all ingredients are gluten-free when required.
- Confirm whether your flour blend contains a binder.
- Measure ingredients accurately.
- Make sure the bread pan and paddle are clean.
During mixing
- Select the correct gluten-free program.
- Check the dough consistency during the early mixing stage.
- Scrape dry ingredients from the corners only if necessary and permitted.
- Avoid adding extra flour simply because the dough looks wetter than wheat dough.
During rising and baking
- Keep the lid closed.
- Avoid unnecessary interruptions.
- Do not move the bread maker.
- Follow the manufacturer’s program and recipe instructions.
After baking
- Remove the loaf carefully.
- Cool it completely on a rack.
- Slice with a sharp bread knife.
- Store it according to the recipe’s recommendations.
Final Verdict
Learning how to make gluten-free bread in a bread maker is mostly about understanding that gluten-free dough does not behave like traditional wheat dough. The biggest improvements usually come from choosing an appropriate gluten-free program, using a reliable flour blend, measuring ingredients accurately, controlling hydration, using the correct binder and allowing the finished loaf to cool completely before slicing.
You should also treat gluten cross-contact seriously when preparing bread for someone who needs a strict gluten-free diet. With a reliable recipe, careful measurements, the right bread-maker settings, and a little patience, a bread maker can become a convenient way to produce consistent homemade gluten-free bread without the hands-on work required by traditional bread baking.