
Introduction
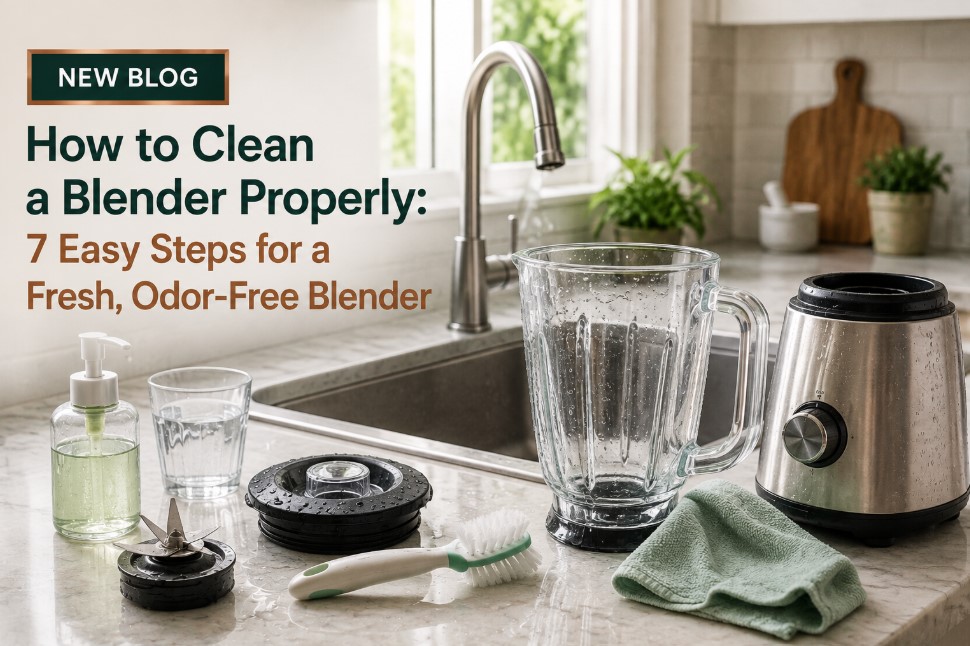
A blender can make smoothies, sauces, soups, dips and countless other recipes much easier, but cleaning it properly is just as important as using it. Food particles can quickly stick around the blades, underneath the gasket, or inside small areas of the jar, creating unpleasant odors and making the appliance harder to keep hygienic. Fortunately, cleaning a blender does not have to be complicated. With the right method, you can clean it after everyday use in just a few minutes and give it a more thorough deep clean when necessary.
In this guide, we’ll explain how to clean a blender properly in 7 easy steps, from rinsing immediately after use to dealing with stubborn residue, unpleasant smells, blades and hard-to-reach areas. We’ll also cover what you should avoid while cleaning your blender and share simple maintenance habits that can help keep it fresh and ready for your next recipe. While if you are Completely new to blender read our full guide about blender “What Is A Blender? Complete Buying Guide” and also read “Blender vs Food Processor: 7 Key Differences and Which One Should You Buy?.”
Why Cleaning Your Blender Properly Matters
It can be tempting to simply rinse a blender after making a smoothie and put it away, especially when the jar looks clean. However, small amounts of food can remain in places that are not immediately visible. Smoothie pulp, nut butter, sauces, dairy products, spices and other ingredients may cling to the blades, gasket, lid or bottom of the jar.
Over time, this residue can become difficult to remove. It may also contribute to unpleasant smells, particularly when ingredients containing milk, yogurt, fruit or other perishable foods are left inside the blender for too long.
Regular cleaning also helps keep the blender looking better. Transparent jars can develop cloudy areas or stains when food residue repeatedly dries on their surfaces. Taking a few minutes to clean the appliance after use can therefore make everyday food preparation much more convenient.
If you are still deciding which type of blender is right for your kitchen, you may also find our Immersion Blender vs. Regular Blender: 7 Key Differences You Should Know useful because cleaning and convenience can be important considerations when comparing blender designs.
What You Need Before Cleaning a Blender
For normal cleaning, you do not need a large collection of special products. In most cases, you can clean a blender using ordinary items already available in your kitchen.
You may need:
- Warm water
- Mild dish soap
- A soft sponge or microfiber cloth
- A soft cleaning brush
- A small bottle brush for narrow areas
- A clean kitchen towel
- Baking soda for certain stubborn odors
Avoid abrasive scrubbers unless your manufacturer’s instructions specifically allow them. Harsh materials can scratch some blender jars, particularly plastic ones.
Before beginning, it is also important to check your blender’s manufacturer’s instructions. Blender designs differ, and some jars, blades, seals, or lids may have specific cleaning requirements.

How to Clean a Blender in 7 Easy Steps
Step 1: Rinse the Blender Immediately After Use
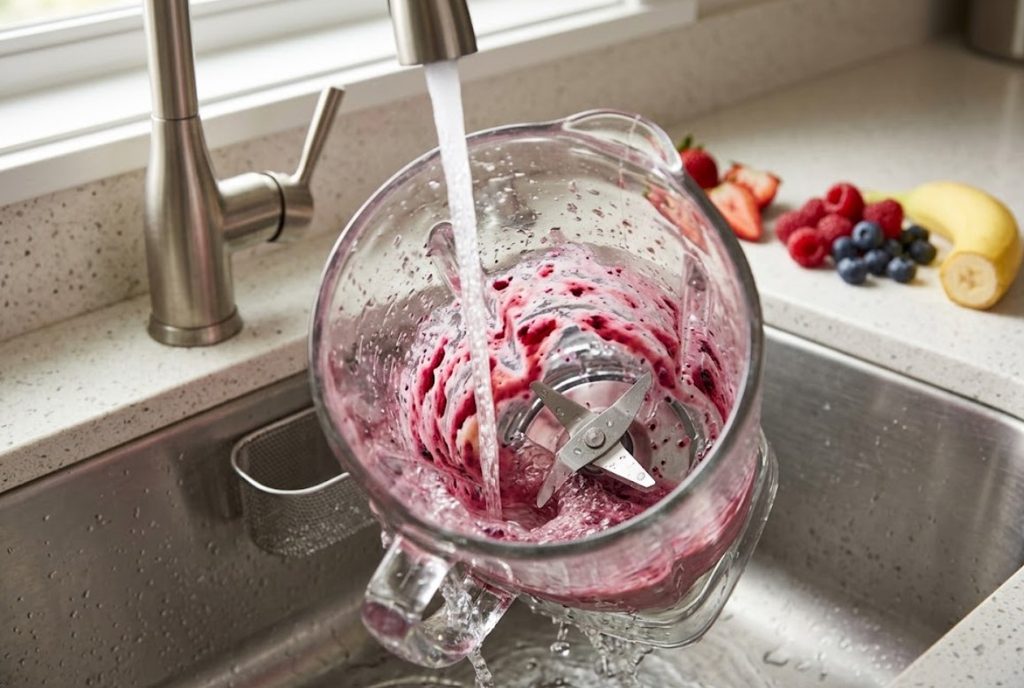
The easiest time to clean a blender is immediately after you finish using it. Once food dries onto the jar and blades, removing it becomes much more difficult.
Start by unplugging the blender from the electrical outlet. Never begin cleaning around the motor base while the appliance is connected to power.
Pour out any remaining food and give the jar a quick rinse with warm water. Try to remove as much loose residue as possible before using soap.
If you have made a smoothie containing fruit, yogurt, protein powder, or other sticky ingredients, rinsing immediately can prevent them from drying onto the sides of the jar.
For sauces or thicker mixtures, use a soft spatula to remove remaining food. Keep your hands away from the blades, even when the blender is switched off.
This simple habit can dramatically reduce the amount of scrubbing required later.
Step 2: Use Warm Water and Mild Dish Soap
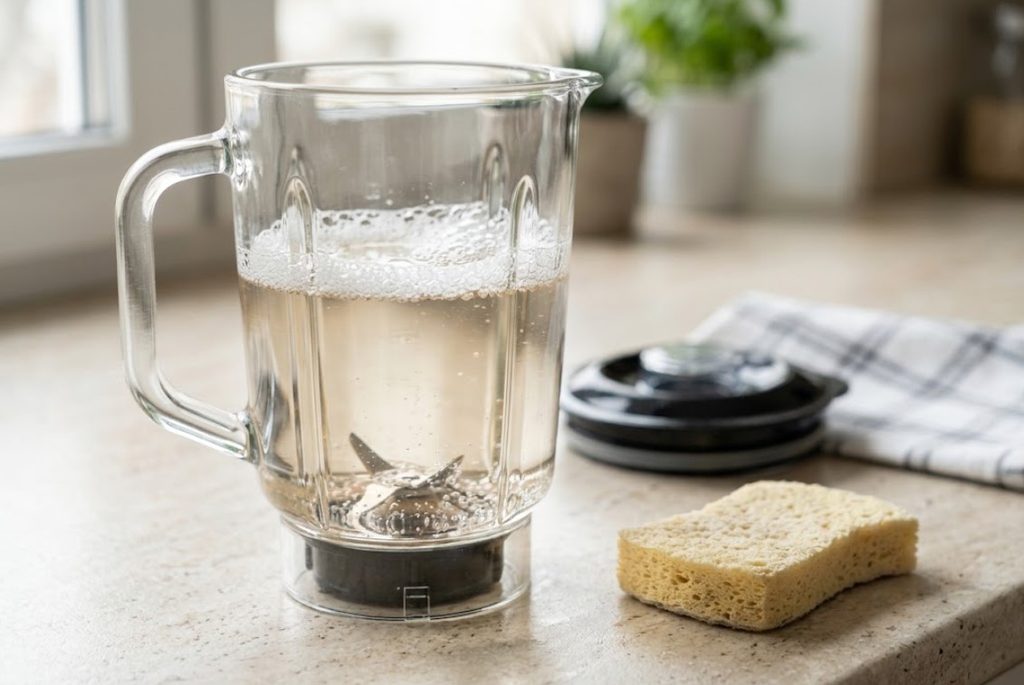
After rinsing, add some warm water and a small amount of mild dish soap to the blender jar.
Do not overfill the jar. A modest amount of water is generally enough for normal cleaning.
If your blender manufacturer permits it, you can place the lid securely on the jar and use the blender’s lowest setting briefly to help loosen residue. However, always check the manufacturer’s instructions before using this cleaning method because not every blender is designed to be cleaned this way.
If you do use the blender’s motor for cleaning, keep the process brief and avoid using extremely hot water unless the manufacturer specifically says it is safe.
Once the residue has loosened, unplug the blender again before handling or emptying the jar.
Rinse thoroughly with clean water until no soap remains.
This method works particularly well for everyday smoothie residue and other relatively soft foods.
Step 3: Clean Around the Blades Carefully
The blade assembly is one of the areas that requires the most attention.
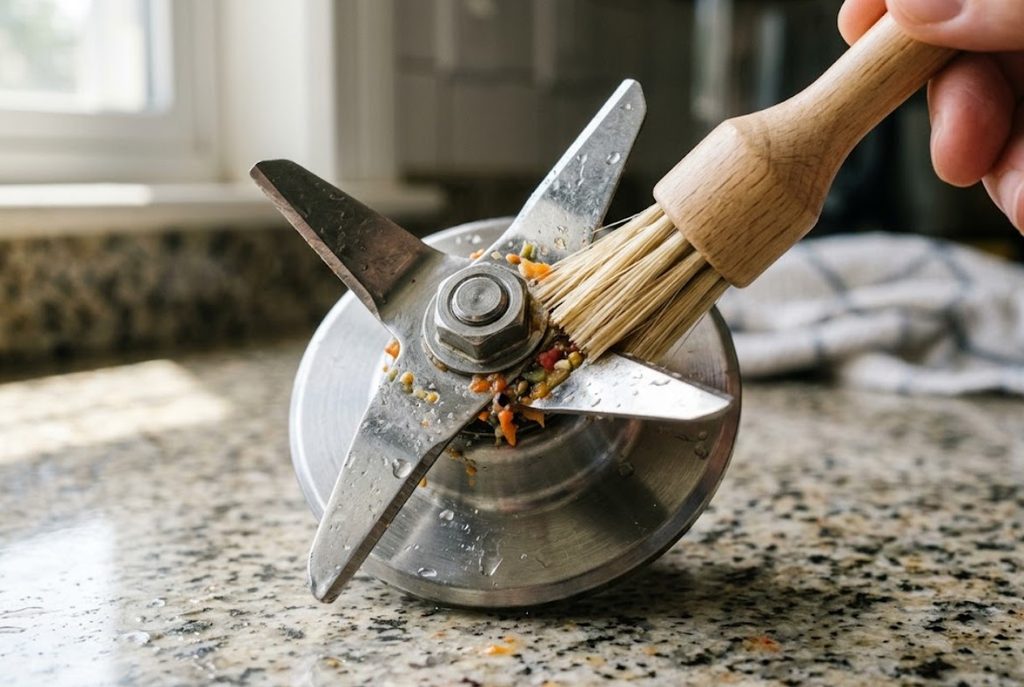
Food can become trapped around or beneath the blades, particularly when you blend thick mixtures. However, the blades can be extremely sharp, so you should never put your fingers directly around them while cleaning.
Use a soft brush or suitable cleaning tool to reach areas around the blade assembly. Move slowly and carefully.
If your blender has a removable blade assembly, only remove it if the manufacturer specifically designed it to be removed and provides instructions for doing so. Some blender jars have integrated blade assemblies that should not be taken apart by the user.
Do not use excessive force. If food has dried around the blades, soak the jar with warm soapy water first. Softening the residue is safer and easier than aggressively scraping it.
Step 4: Clean the Lid, Gasket and Small Parts
The blender jar is not the only part that needs cleaning.
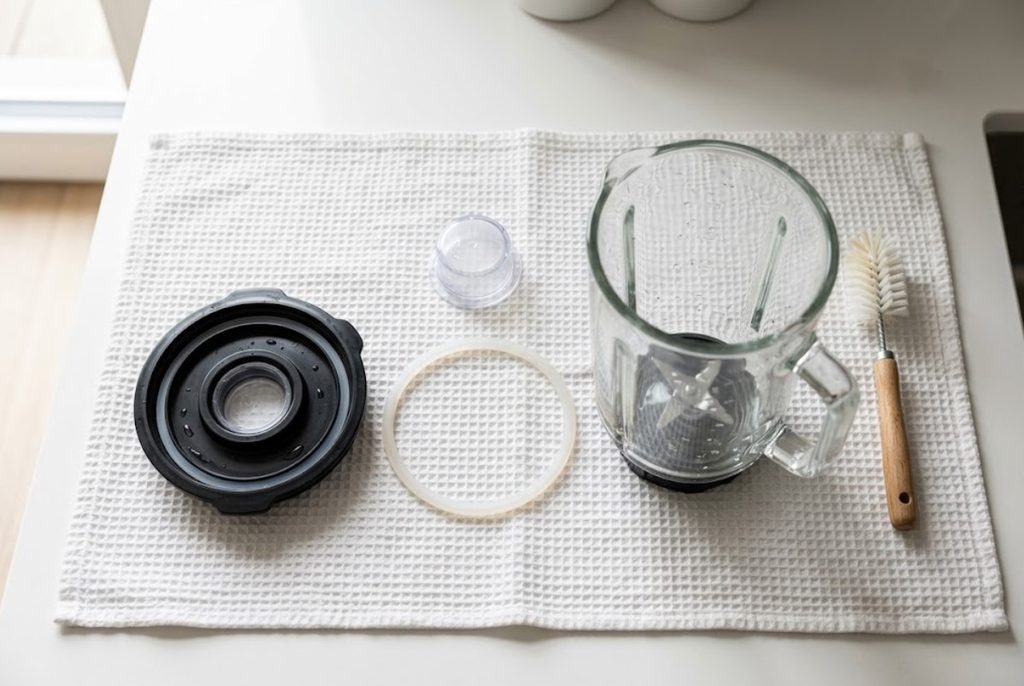
The lid can collect smoothie residue, especially around its edges and any removable center cap. Food can also become trapped inside grooves and seals.
If your blender has a removable gasket or seal, follow the manufacturer’s instructions for removing and cleaning it. These small components can retain moisture and food particles if they are repeatedly left unwashed.
Wash removable parts with warm water and mild dish soap. A small soft brush can help clean narrow grooves.
Pay particular attention to areas where the lid meets the jar. These locations may not be obvious when you are quickly rinsing the blender.
After washing, rinse all parts thoroughly.
Step 5: Remove Stubborn Food Residue
Sometimes ordinary rinsing and soap are not enough.
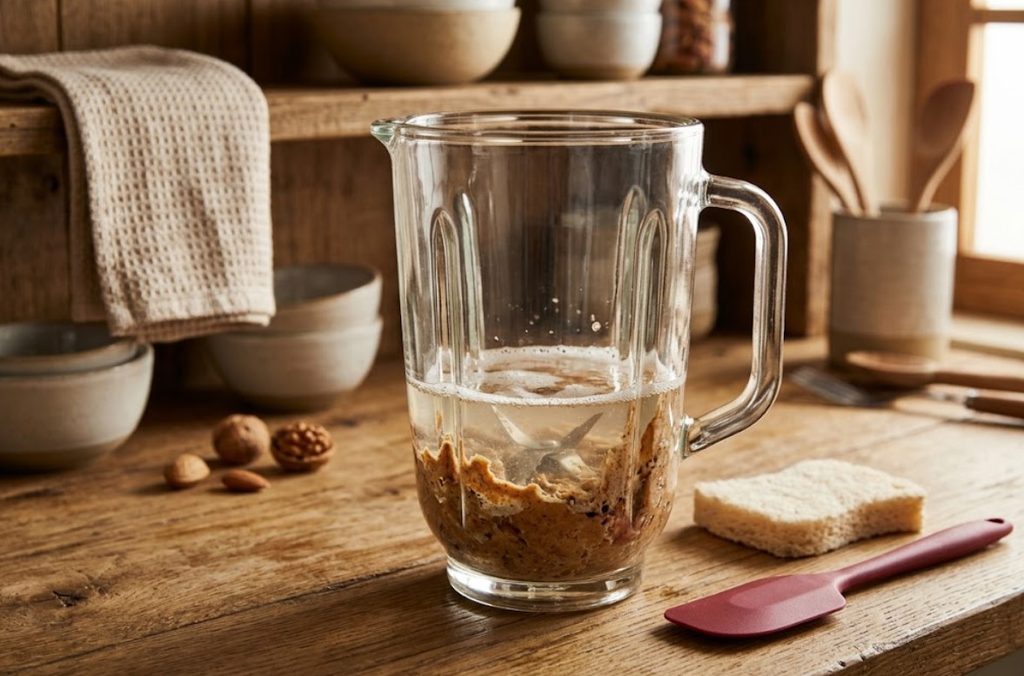
Thick foods such as nut butter, hummus, sauces, dates, frozen fruit mixtures, and certain dips can leave stubborn residue inside a blender.
For these situations, allow the jar to soak in warm soapy water for several minutes. This gives the water time to soften dried food.
Then use a soft sponge or brush to loosen the remaining material.
Avoid using knives, forks, metal spoons, or other sharp objects to scrape the inside of the jar. These tools can damage the surface or accidentally come into contact with the blade assembly.
For particularly stubborn residue, repeat the soaking process rather than immediately applying more force.
If the blender jar is made from plastic, be especially careful with abrasive cleaning materials because repeated scratching can make the surface look cloudy or worn.
A Simple Cleaning Trick for Dried Residue
If dried food is stuck to the bottom or sides, fill the jar with warm water and add a small amount of mild dish soap. Allow it to sit before cleaning.
The goal is to soften the residue rather than fight it.
That simple change can make blender cleaning much easier.
Step 6: Get Rid of Unpleasant Blender Odors
A blender may occasionally develop an unpleasant smell, particularly if it has been used for dairy-based smoothies, protein mixtures, garlic, onions, spices, or other strongly scented foods.
First, wash the jar, lid, gasket, and other removable components thoroughly with warm water and mild dish soap.
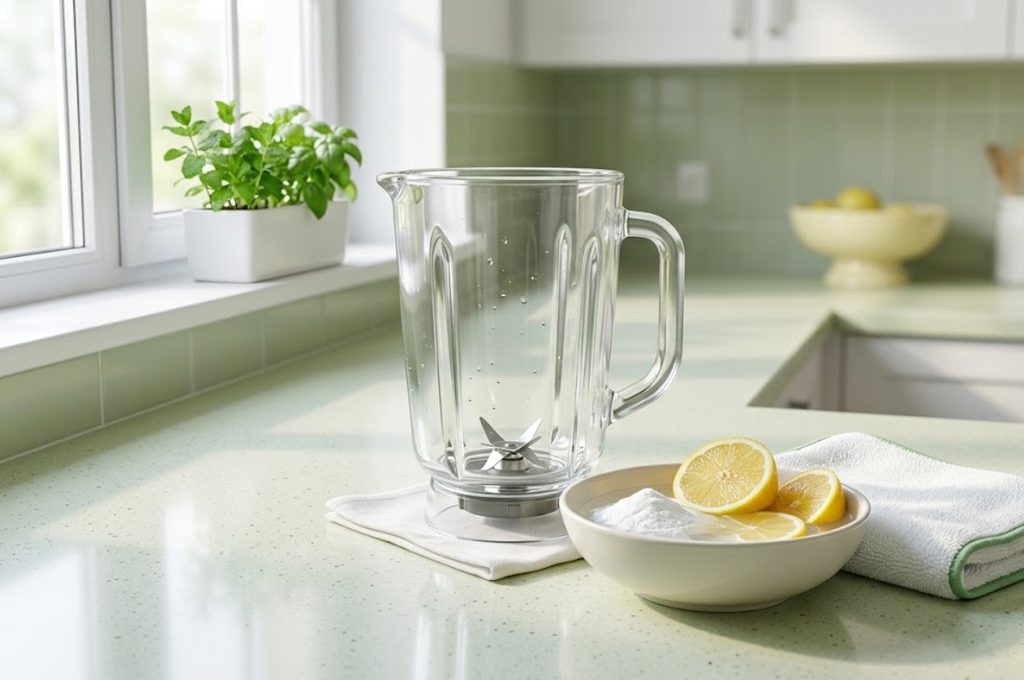
If an odor remains, baking soda can sometimes help neutralize lingering smells. A small amount mixed with water can be used as a gentle cleaning solution, provided the blender manufacturer does not prohibit it.
Allow the solution to sit briefly, then rinse the components thoroughly.
Another important step is drying. A damp blender that is closed immediately after washing can retain moisture and develop a musty smell.
After cleaning, leave the jar and removable components somewhere clean and well ventilated until they are completely dry.
Step 7: Dry and Store the Blender Properly
The final step is often overlooked.
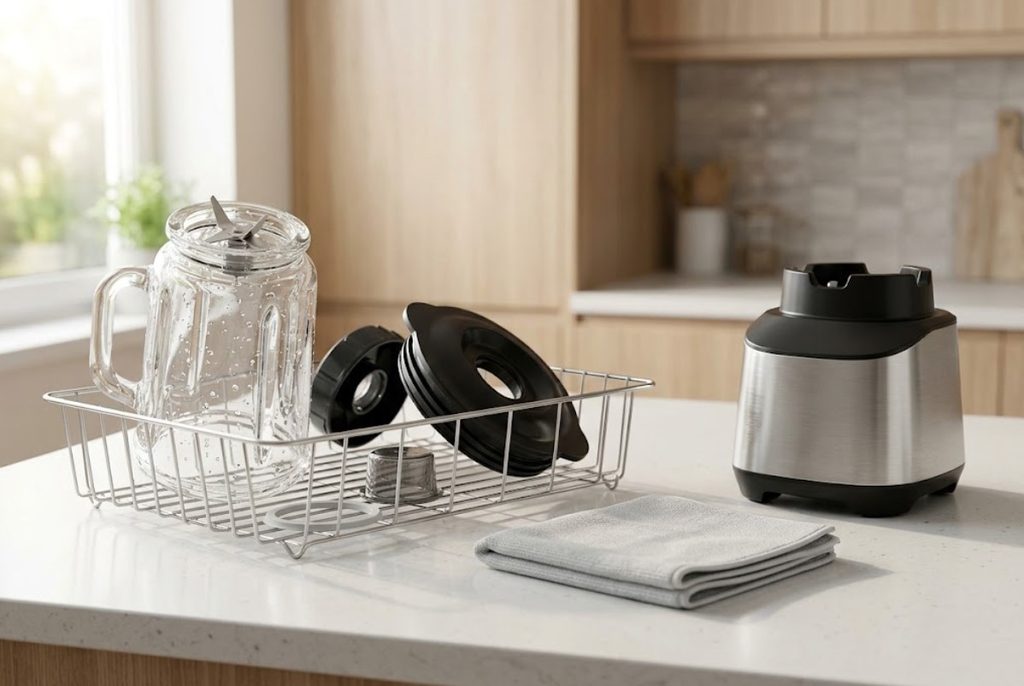
Once all components have been washed and rinsed, allow them to dry completely before putting the blender back together for storage.
Use a clean microfiber or kitchen towel to remove excess water from accessible surfaces. Then allow the jar, lid and other removable parts to air-dry.
Avoid sealing a wet blender jar tightly for long periods.
If possible, store the jar and lid in a way that allows some airflow. This can help reduce moisture buildup and unwanted odors.
The motor base also needs attention, but it should be cleaned differently.
Never immerse the motor base in water. Instead, unplug the blender and wipe the exterior with a slightly damp cloth. If food has splashed onto the controls or housing, clean it gently without allowing water to enter electrical openings.
7 Key Blender-Cleaning Differences You Should Know
Although the seven steps above form the basic cleaning process, different blender situations can require slightly different approaches. Understanding these differences can help you avoid damaging the appliance while still getting it thoroughly clean.
1. Everyday Cleaning vs. Deep Cleaning
Everyday cleaning should be quick and consistent. Rinse the jar, wash it with mild dish soap, clean the lid and accessible components, rinse everything, and allow it to dry.
Deep cleaning is different. It should involve greater attention to the blade area, gasket, lid grooves, seals and areas that may not be cleaned thoroughly during everyday washing.
You do not necessarily need to deep-clean your blender after every use. Instead, make it part of your occasional maintenance routine.
2. Smoothie Residue vs. Thick Food Residue
A watery smoothie is usually easier to clean than nut butter, hummus, thick sauces, or sticky fruit mixtures.
For liquid mixtures, immediate rinsing may remove most of the residue.
For thick mixtures, soaking is often more effective. Give the residue time to soften before attempting to scrub it.
If you frequently use your blender for smoothies, you may also want to explore Best Blenders for Smoothies: 7 Top Picks for Smooth, Fast Blending to understand the types of blender features that can make smoothie preparation easier.
3. Glass Jars vs. Plastic Jars
Glass and plastic blender jars can behave differently during cleaning.
Glass generally resists staining and odor retention well, although it can be heavier and should be handled carefully to avoid cracking or breaking.
Plastic jars are lighter and convenient, but certain foods may stain or leave odors more easily. Abrasive cleaning tools can also create scratches.
Whatever material your jar uses, follow the manufacturer’s cleaning recommendations.
4. Removable vs. Fixed Blade Assemblies
Some blender designs allow certain components to be removed for cleaning, while others have integrated blade assemblies.
Never assume that a blade assembly should be removed simply because it looks detachable.
Check the manufacturer’s instructions before disassembling anything. Incorrectly removing or reinstalling components can cause leaks or damage.
5. Dishwasher-Safe vs. Hand-Wash Components
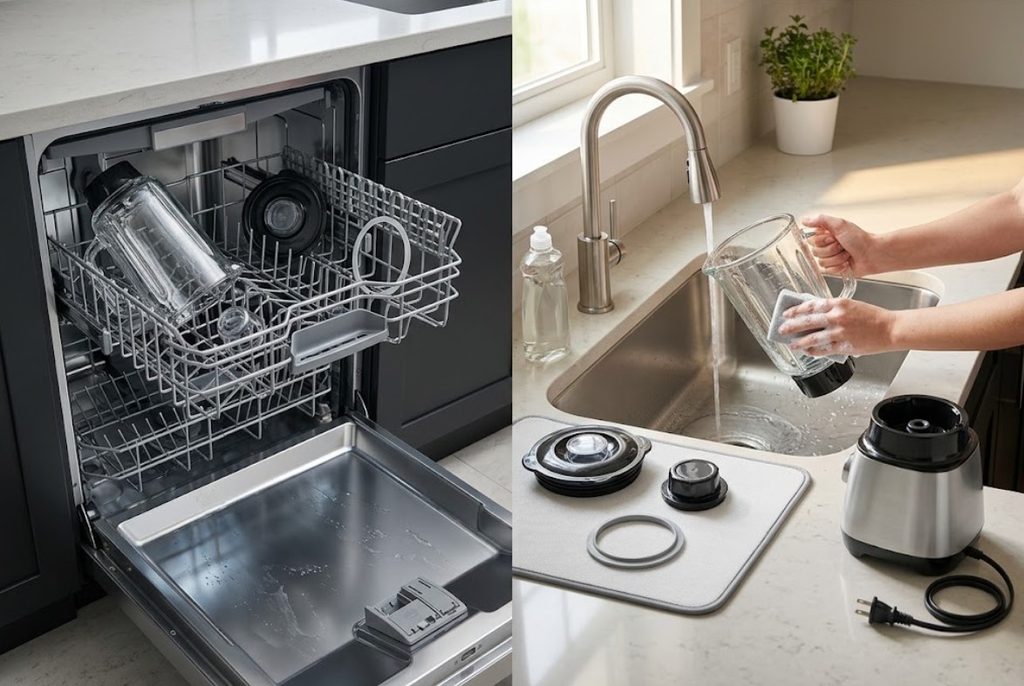
Some blender components may be dishwasher-safe, while others may not be.
Even when a component is labeled dishwasher-safe, you should follow the manufacturer’s recommended dishwasher placement and temperature guidance.
The motor base should never be treated like a dishwasher-safe component.
If you are unsure, hand washing with warm water and mild dish soap is often the safer default, provided the manufacturer’s instructions do not say otherwise.
6. Cleaning the Jar vs. Cleaning the Motor Base
The blender jar can generally be washed with water, while the motor base requires a much more cautious approach.
Keep water away from electrical components and openings.
Unplug the base, wipe its exterior gently and dry it afterward.
This distinction is particularly important because a blender is both a food-preparation appliance and an electrical device.
7. Normal Cleaning vs. Odor Removal
A blender that smells bad may need more than a quick rinse.
If an odor remains after normal washing, inspect the lid, gasket, blade area, and other places where food may have become trapped.
Thorough cleaning followed by complete drying is usually more useful than simply trying to cover the smell with another scented product.

What You Should Never Do When Cleaning a Blender
Knowing what not to do is just as important as knowing how to clean it.
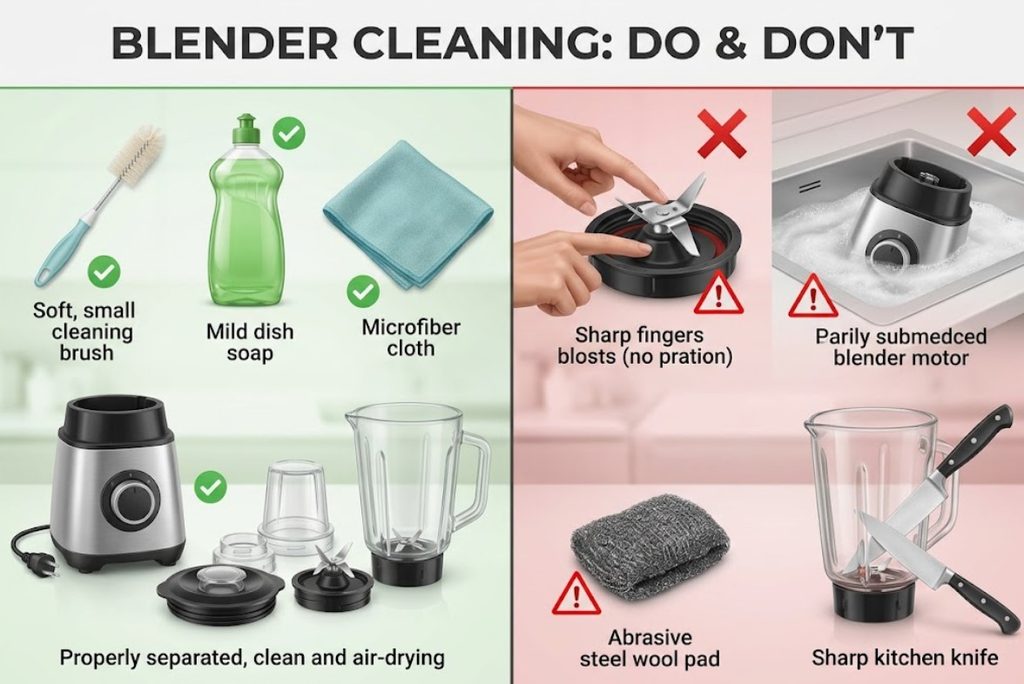
Don’t put your hands near moving or exposed blades
Even when the blender is unplugged, blades can be sharp. Use an appropriate cleaning brush or tool rather than reaching directly into the blade assembly.
Don’t immerse the motor base
The motor base contains electrical components and should never be submerged in water.
Don’t use excessively abrasive materials
Steel wool and harsh abrasive pads can scratch some blender jars and surfaces.
Don’t use sharp objects to remove food
A knife or fork may scratch the jar or create an unnecessary safety risk.
Don’t ignore the manufacturer’s instructions
Blenders differ considerably. Some components may be dishwasher-safe while others may require hand washing.
Don’t store the blender while it is still wet
Moisture trapped inside the jar or around seals can contribute to unpleasant odors.
How Often Should You Clean a Blender?
A blender should ideally receive a basic cleaning after every use.
This does not mean you need to perform a long deep-cleaning routine every time. Everyday cleaning can be quick when food is removed before it dries.
Deep cleaning can be performed periodically or whenever you notice residue, staining, an unpleasant smell or buildup around seals and difficult-to-reach areas.
The exact frequency depends on how often you use the blender and what you blend.
Someone who makes a simple fruit smoothie every morning may have a different cleaning routine from someone who uses a blender for nut butter, sauces, soups, spices or thick food mixtures.
The important thing is consistency.
How to Keep Your Blender Cleaner for Longer
A few habits can make future cleaning easier.
Rinse immediately. Don’t leave food sitting in the jar.
Avoid overfilling. Excess ingredients can splash into areas that are harder to clean.
Clean the lid carefully. Small grooves can collect food.
Inspect seals periodically. Look for residue or moisture around gaskets.
Dry completely. Air-drying helps prevent musty odors.
Clean the motor base carefully. Wipe it rather than exposing it to water.
Follow the manufacturer’s instructions. Your particular blender may have specific care requirements.
If you are comparing blender options before purchasing, our guide Best Blenders Under $100: 7 Affordable Picks for Smoothies, Food Prep & More can also help you consider affordable blender choices for different kitchen needs.
Can You Clean a Blender Without Taking It Apart?
In many cases, yes—but it depends on the blender’s design.
For everyday cleaning, you usually do not need to completely disassemble the appliance. Rinsing the jar, washing it with mild dish soap, cleaning the lid, and paying attention to accessible areas may be enough.
However, if your blender has removable components that the manufacturer specifically recommends removing for cleaning, those parts should receive appropriate attention.
The important point is not to disassemble components simply because you think they might come apart.
Check the user manual first.
A blender that is cleaned regularly is generally much easier to maintain than one that is allowed to accumulate dried food residue.
Is It Safe to Put a Blender in the Dishwasher?
There is no universal answer because different blender components have different cleaning requirements.
Some jars, lids, blades or accessories may be labeled dishwasher-safe, while others may not be. The motor base should not be placed in a dishwasher.
Always check the manufacturer’s instructions for your specific model before putting any component into a dishwasher.
Even if a part is dishwasher-safe, proper placement and the recommended dishwasher cycle may matter.
When in doubt, consult the manual rather than assuming that every removable blender component can go into the dishwasher.

Final Blender-Cleaning Checklist
Before storing your blender, ask yourself:
- Did I rinse the jar immediately after use?
- Did I wash the jar with mild dish soap?
- Did I clean around the blade area safely?
- Did I wash the lid and removable components?
- Did I check the gasket or sealing area?
- Did I remove any stubborn food residue?
- Did I address any lingering odor?
- Did I rinse away all soap?
- Did I allow the components to dry completely?
- Did I wipe the motor base without immersing it in water?
If the answer is yes, your blender is much more likely to stay fresh and ready for the next use.
For manufacturer-specific cleaning instructions, consult the official user manual or care guide provided by the Blender Manufacturer, since dishwasher safety, removable components, blade assemblies and cleaning recommendations can vary by model.
Final Verdict
Learning how to clean a blender properly does not require a complicated routine. The most important habits are surprisingly simple: rinse the blender soon after use, use mild soap and appropriate cleaning tools, pay attention to the blades and small components and never immerse the motor base in water. Stubborn residue should be softened rather than aggressively scraped, while unpleasant odors are often easier to prevent through thorough washing and complete drying.
A few minutes of care after each use can make a noticeable difference to the cleanliness, appearance and everyday usability of your blender. Whether you use yours mainly for smoothies, sauces, soups, dips, or food preparation, consistent cleaning is one of the easiest ways to keep the appliance ready for your next recipe and avoid unpleasant buildup over time.